
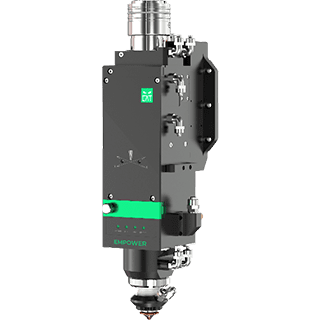
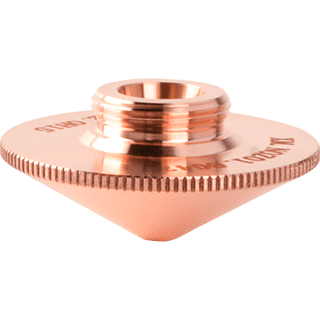

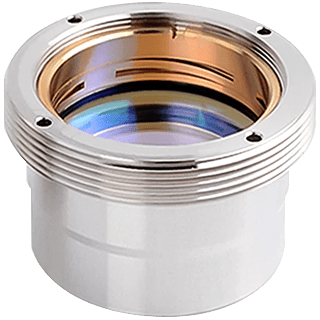
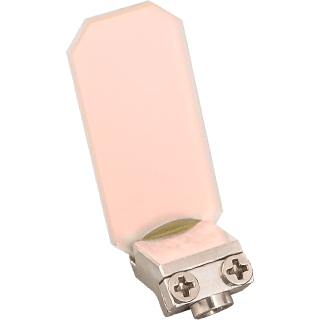

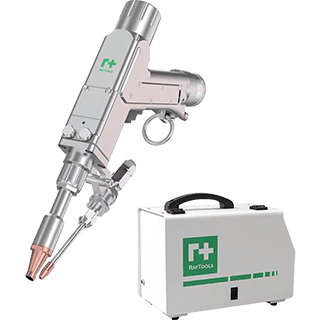
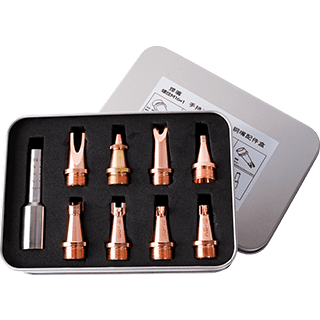
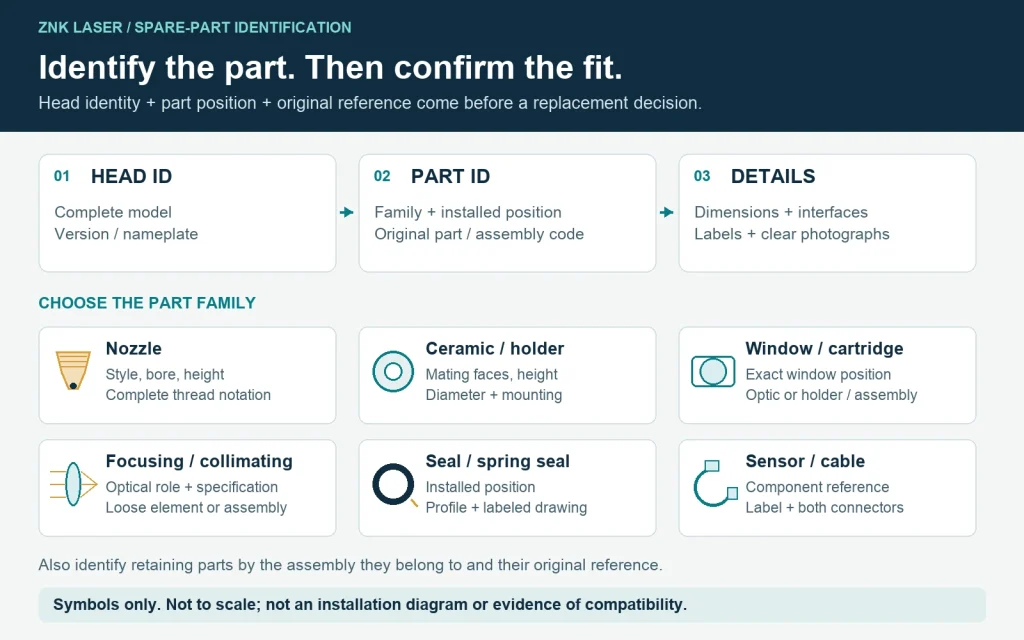
To identify a fiber laser cutting head spare part, establish three things: the exact head, the component’s position, and its original part reference. Then check the dimensions and interfaces for that component. A machine brand, a familiar shape or one matching diameter can help narrow a search, but none is a complete replacement specification.
This identification map helps purchasing and maintenance teams sort an unfamiliar part into the right family before requesting a quotation. It covers metal-cutting head components, from nozzles and ceramic rings to optical assemblies, seals and sensor connections.
Open the full-size spare-part identification map. The symbols show part families and identification fields, not an exploded view, installation order or compatibility chart.
1. Identify the cutting head currently installed
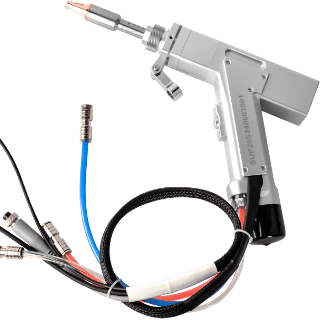
Record the cutting-head brand and complete model from its own nameplate. Keep suffixes and version markings. The machine’s brand and rated power are useful context, but they do not identify every component inside the head.
Use the head’s parts drawing or service documentation to locate the item. Record the drawing position, assembly name and document revision when available. If a label is unreadable, send a photograph of the label and the whole head; mark the missing model as unknown.
2. Find the part family before comparing dimensions
Begin with the name in the parts list. The table below explains which details distinguish commonly encountered families. It is an identification checklist, not a list of interchangeable components or a statement of availability.
| Part family | What to establish | Useful evidence |
|---|---|---|
| Cutting nozzle | Nozzle style, layer design, bore opening and complete thread specification. | Part marking, front and side photos, outside diameter, height and drawing. |
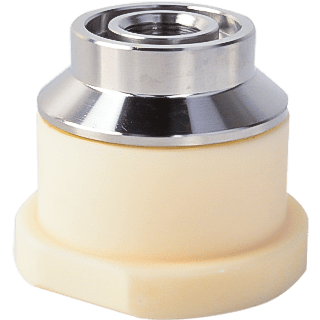
| Ceramic ring / nozzle holder | The holder itself, its mating faces and its mounting arrangement. | Maximum outside diameter, height, thread reference, top and bottom photos. |
| Protective window and its holder | The exact window position; whether the request is for the optic, holder or complete cartridge. | Window and assembly references, labeled diameter and thickness, packaging and position photo. |
| Focusing / collimating component | Which optical function is required and whether it is a loose element or mounted assembly. | Assembly code and the optical specifications stated in the head documentation. |
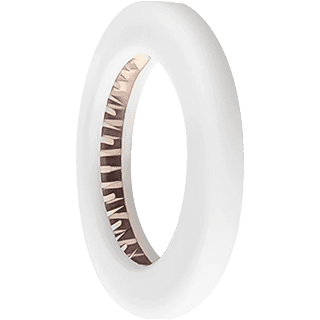
| Seal / spring seal | Seal position and profile; a round O-ring and a profiled seal need different descriptions. | Original reference, labeled drawing and a profile photo where safely available. |
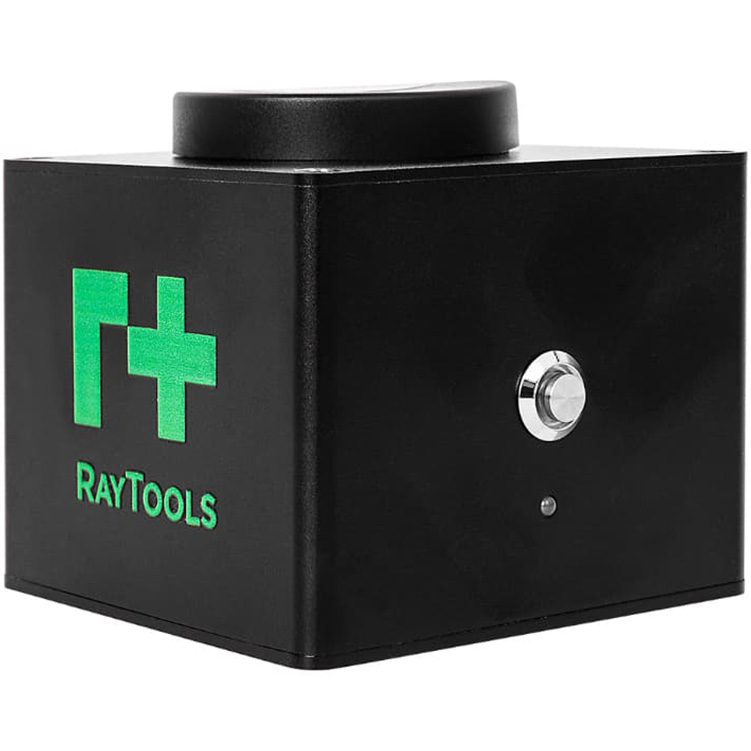
| Sensor part / cable | Whether the requested item is a sensor assembly, amplifier, cable or connector. | Component label, assembly position, both cable ends and the original electrical reference. |
| Lock ring / retaining part | What the ring retains and which assembly it belongs to. | Assembly drawing, part code, thread details and photos of both faces. |
For example, “ring for the head” could refer to a ceramic holder, seal or retaining ring. Identify its position and drawing reference before measuring it. Likewise, “laser lens” does not distinguish a protective window from focusing or collimating optics. See our guide to the three optical roles.
3. Keep the head model, part number and supplier SKU separate
A head model identifies the head. A component part number identifies an item in a particular parts system. A supplier SKU identifies a seller’s listing or stock record. Record each in its own field so that a listing code is not mistaken for the manufacturer’s reference.
Copy the complete code, including letters, punctuation and suffixes, and photograph the source label. If the manual, old packaging and installed part show different references, send all three with their origins. Ask for the discrepancy to be resolved rather than choosing whichever code appears most often online.
When a listing shows two reference codes, do not assume they are a verified substitution for your application. Request a documented cross-reference and confirmation for the exact head version and component position.
4. Use dimensions to check the candidate, not to invent its identity
Label every measurement with its meaning and unit. “Outside diameter,” “total height,” “window thickness” and “nozzle bore” describe different features. A string of numbers without a drawing legend may be ambiguous.
For a threaded component, retain the complete thread notation from its drawing, including pitch where specified. A nominal thread diameter alone leaves information missing. For optics, physical size also leaves the optical role and specification unresolved. For cables, a similar-looking plug leaves the electrical specification unresolved.
Use documentation and existing service records first. Obtain measurements or photographs only under the equipment manufacturer’s service procedure; do not open a sealed optical assembly just to complete an inquiry. Our sealing-ring identification guide explains how to label seal dimensions without guessing the profile.
5. Build a photo set that answers different questions
- Head and nameplate: show which head is installed and make the complete model readable.
- Part in context: show its position or point to it on the parts drawing.
- Label or marking: photograph the complete part reference and original packaging if available.
- Interface and profile: show both mating faces, the thread or both cable ends as appropriate.
Keep one item per photo set and identify the images with the same line number as the inquiry. A photo can clarify shape and markings; it cannot establish hidden material properties, optical coatings or electrical compatibility.
6. Turn the identification into a clear parts inquiry
Spare-part identification request — item [01]
Installed head: [brand, complete model, version]
Part family and drawing position: [name / position]
Original part reference: [code and source]
Supplier product link or SKU: [separate field]
Component or complete assembly required: [specify]
Labeled dimensions and units: [attach drawing if available]
Photo set: [head, position, marking, interfaces]
Quantity: [number]
Unknown or conflicting information: [list it]
For a mixed list, repeat this block for each item. Keep the same item number in your drawings, photos and quotation request. Once a specification has been confirmed, retain the approved reference for future repeat inquiries.
Continue with laser cutting nozzles, ceramic rings, protective lenses and windows, focusing and collimating optics or sealing rings. For quotation and purchasing questions, read the fiber laser consumables buying guide.
Send your head model, part reference and photos for a parts inquiry. FINNLASER currently accepts inquiries only. Online payment and shipping are not available through this website; specifications and any quotation or order terms are confirmed individually.