
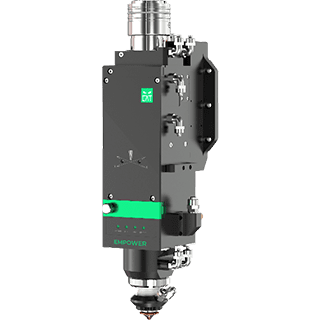
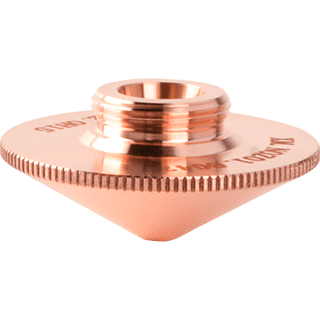

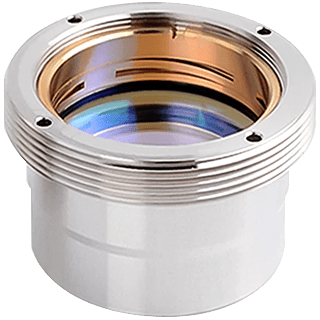
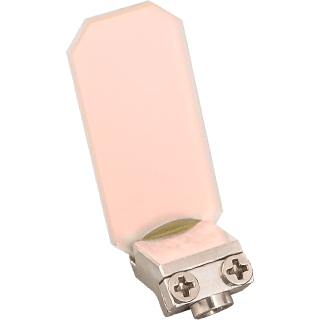
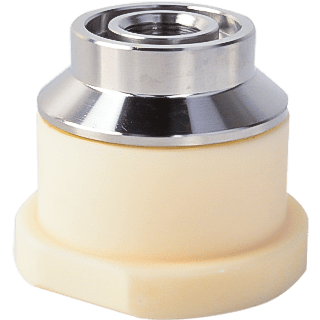
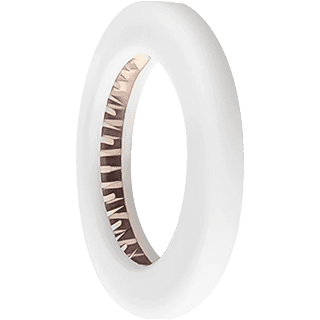
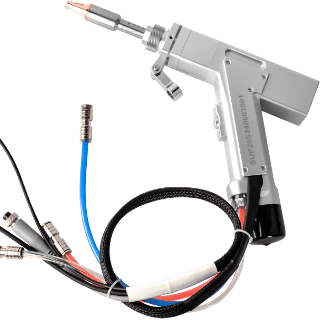


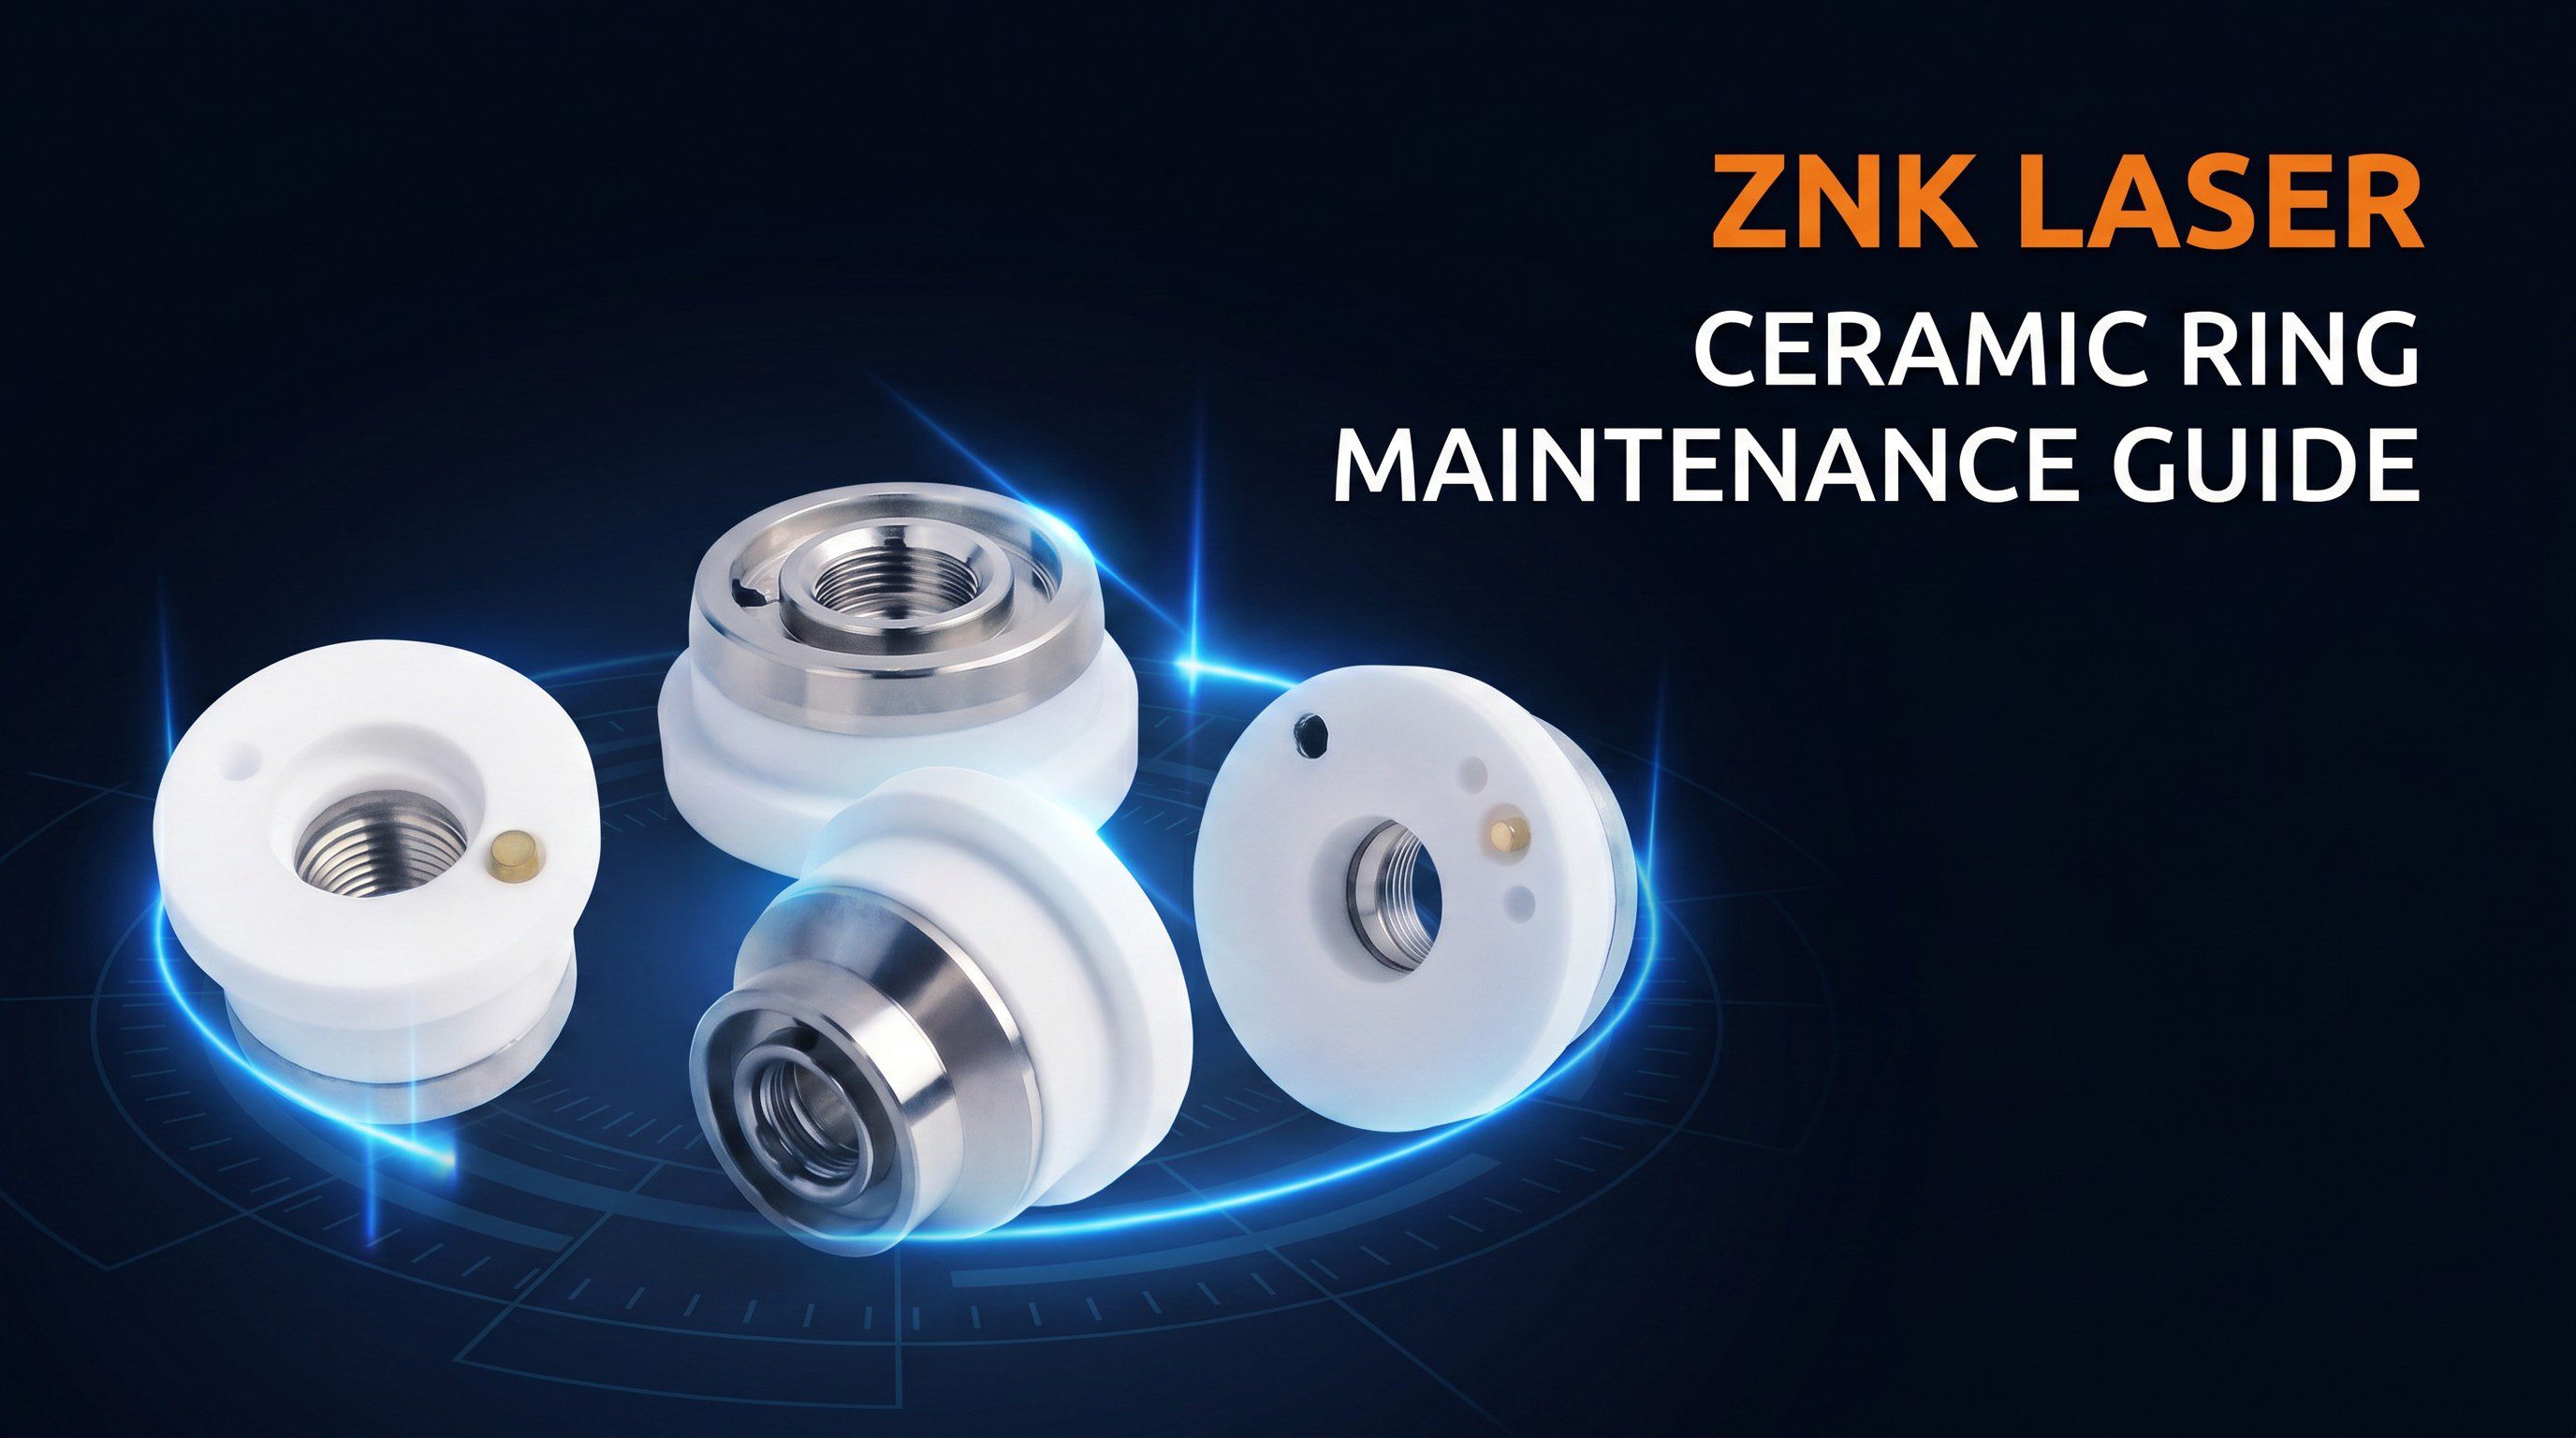
A ceramic ring is a small part of the laser cutting head assembly, but selecting and maintaining it requires more than matching its appearance. This guide explains what to inspect, which dimensions to confirm and when to request a replacement assessment. Its purpose is to support consistent maintenance, rather than promise a fixed service life.
What the ceramic ring assembly does
The ceramic ring assembly connects the nozzle to the capacitive head. Its condition and the condition of the associated metal contacts matter when checking the nozzle and height-sensing assembly. Do not interpret this as saying that the ceramic material itself is an electrical conductor.
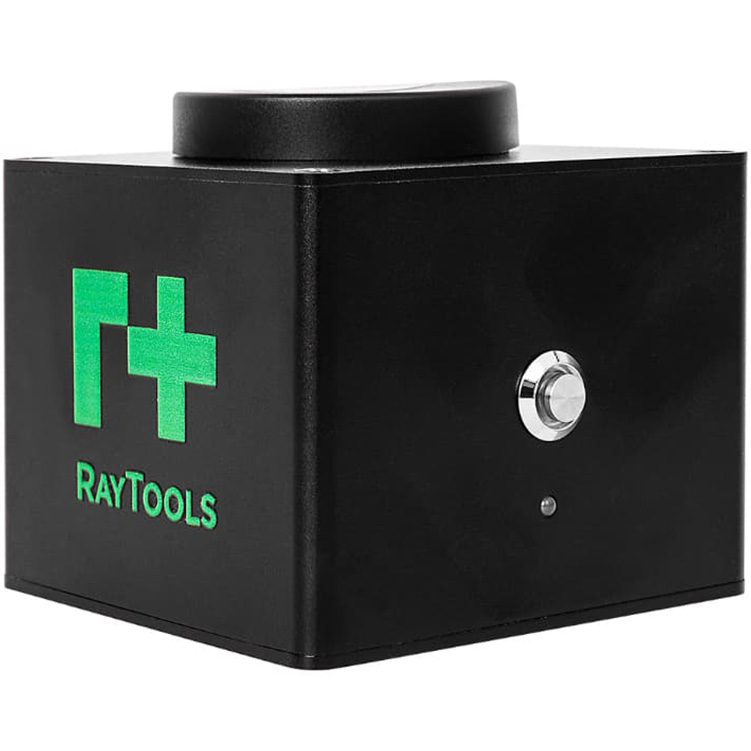
If the machine reports a height-sensing problem, check the manufacturer’s diagnostic procedure. The nozzle, ceramic assembly, capacitive head, cable and their connections may all require investigation. Replacing one component without checking the assembly can leave the underlying fault unresolved.
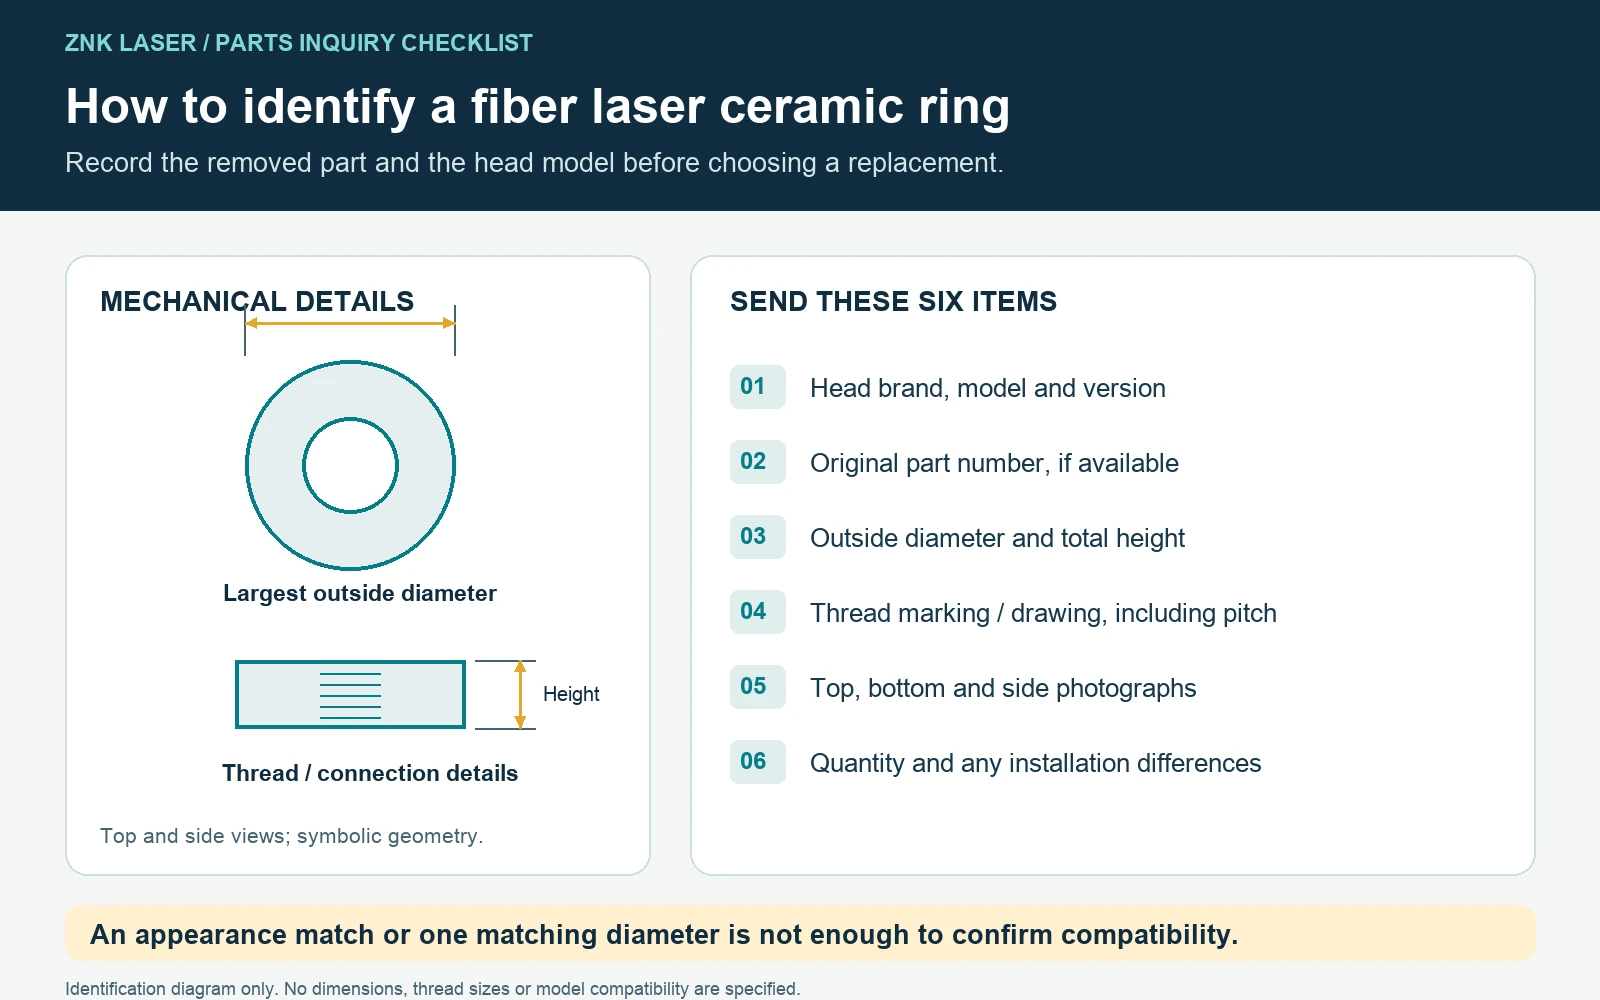
D28 and D32 are not complete compatibility specifications
Our ceramic-ring reference includes a D28 entry described as 28 mm diameter, 11 mm nominal thread diameter and 12 mm height, alongside a D32 entry described as 32 mm diameter, 14 mm nominal thread diameter and 12 mm height. It also warns that these parts can look alike and that the maximum outside diameter must be checked.
However, the same reference includes D28-M12, D32-M12 and D32-M11 entries. This means that D32 does not always mean an M14 connection, and D28 alone does not establish the thread. These examples describe reference variants; they do not establish compatibility with your cutting head.
Confirm the full part code, maximum diameter, height, thread diameter and pitch, seating surfaces and contact arrangement. Use the head model and revision, the old part and an approved drawing together. Do not substitute a part merely because it screws into place.
A practical inspection routine
- Make the machine safe. Follow the manufacturer’s shutdown, isolation and cooling procedure before handling the head assembly.
- Inspect the visible ceramic and metal parts. Look for cracks, chips, impact marks, contamination, damaged threads or a loose connection. Record what you find before cleaning or replacement.
- Check the mating parts. Inspect the nozzle and accessible seating/contact surfaces using the manufacturer’s procedure. A problem elsewhere in the assembly can resemble a ring fault.
- Clean only as specified. Use the approved materials and method for your head. Avoid improvised abrasives, solvents or tools that could damage surfaces or leave residue.
- Escalate damage. Ask a qualified technician to assess cracked ceramic, damaged threads or loose metal sections. Do not glue, file or force a damaged assembly back into service.
Verify the assembly after replacement
Before fitting a new ring, compare it with the approved specification and inspect the surrounding components. Follow the specified installation method and tightening requirements. This guide does not supply a universal torque value because that depends on the particular assembly.
Complete the manufacturer’s required height-sensing checks or calibration before returning to production. Use a controlled check on representative material and record any remaining alarms or instability. If the fault continues, stop treating the ring as the only possible cause and investigate the rest of the system.
Plan spares using evidence from your own machine
There is no verified replacement interval that applies to every ceramic ring. Track the head model, part code, installation date, operating conditions, impacts and reason for removal. This gives your maintenance team a basis for inspection frequency and spare-parts planning.
Frequently asked questions
Can I replace D28 with D32?
Do not assume so. Diameter is only one part of the specification; confirm the exact assembly required by the head manufacturer.
What should I send when requesting a replacement?
Send the head nameplate, old ring code, clear photos of both sides and the connection, measured dimensions, and a description of damage or alarms. Include a drawing when available. Photos help identification but do not prove compatibility.