
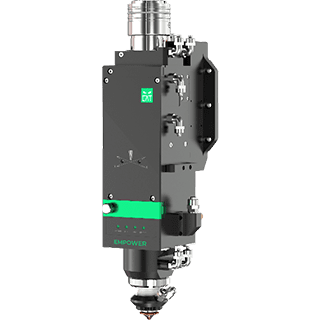


When fiber laser cutting quality changes, record the symptom before replacing parts or changing several settings at once. Start with the exact head model, material, thickness, assist gas, current process settings and a clear photo of the cut. Compare the result with the equipment manufacturer’s approved process for the same job.
The ten checks below help organize an inspection and a support request. They do not diagnose a fault from a photograph or provide universal pressure, speed, focus, torque or optical-alignment settings. Inspection and service must follow the instructions for the installed machine and head.
1. Burrs or slag remain on the edge
Record where the burr appears, whether the cut passes fully through the sheet and whether the problem changes with direction. Include the material, gas and current recipe in the report. A nozzle replacement alone should not be treated as a confirmed solution without identifying the cause.
2. The cut does not pass through the material
Compare the job with a previously accepted sample made on the same equipment. Check for an active alarm and record the actual material and thickness, selected recipe and any recent part change. Have the operator or service technician verify the setup against the machine documentation before adjusting it.
3. One cutting direction looks worse than another
Mark the direction of travel on the sample and photograph more than one edge. Ask trained personnel to check the nozzle condition and beam-to-nozzle alignment using the manufacturer’s procedure. The direction-dependent symptom is useful evidence, not proof that a specific optic has failed.
4. The nozzle becomes unusually hot
Pause the job and arrange an inspection. FINNLASER’s service checklist for a hot nozzle calls for checking alignment, the lower protective window and signs of nozzle discoloration or deformation, as well as the head’s specified air-blow function where fitted. Confirm the actual configuration in the head manual; process adjustments come after the hardware checks.
5. The nozzle opening is damaged or distorted
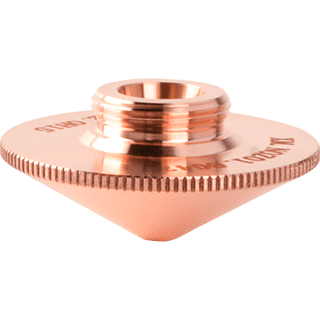
Record the damage and any recent collision or replacement. Identify the nozzle by its original reference, outer diameter, height, thread, bore and layer design before ordering another. Do not assume that a similarly shaped nozzle is interchangeable.
6. A protective window shows contamination or damage
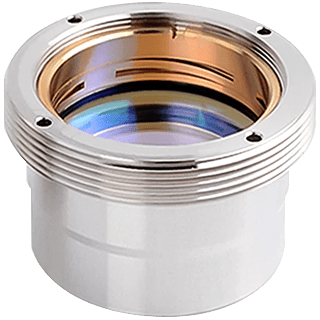
Identify which window position is affected and note how soon the condition appeared after the last service. Have authorized personnel inspect and replace the part under the manufacturer’s optical-service procedure. Do not continue trial cuts through a damaged optic or apply an unspecified cleaning method.
7. Quality changed immediately after a parts replacement
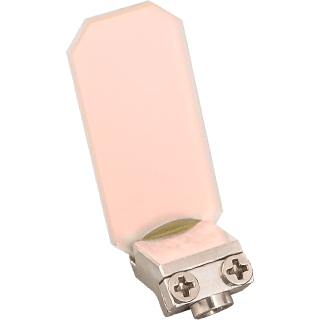
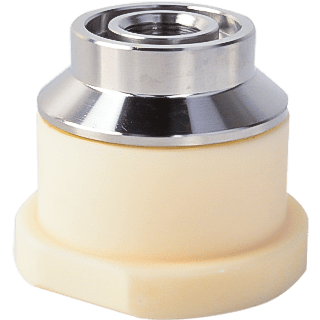
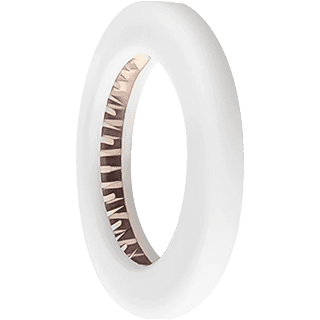
Compare the old and new part references, dimensions and installation record. Check the complete interface and the part’s position rather than just its brand or outer diameter. For a ceramic ring, include the thread and mounting details; for optics, provide the original optical reference.
8. A height-control or sensor alarm appears
Save the exact alarm code, the head model and the stage at which it occurs. Photograph the nozzle, ceramic ring and visible mounting arrangement with the equipment in its prescribed safe state. Follow the maker’s diagnostic procedure rather than bypassing a sensor or substituting parts at random.
9. The result varies between repeated cuts
Keep samples and record when the variation begins. Compare the same material and program, and note displayed gas, cooling and alarm information without changing multiple variables at once. This helps the service team decide what needs checking instead of attributing every change to consumable wear.
10. Replacement parts need attention unusually often
Keep a log of the part reference, installation date, job conditions and reason for replacement. Share that history with the equipment service team. A replacement interval cannot be set from the part name alone, and a recurring symptom warrants checking the process and installation as well as the component.
What to send with a parts or support inquiry
Send the head model, original part number, relevant dimensions, photos of the part and cut edge, alarm code where present, and a short description of what changed. Leave unknown specifications clearly marked. FINNLASER can review the supplied reference for a parts inquiry; machine diagnosis and service parameters require the appropriate equipment procedure.
See how to identify a cutting nozzle, ceramic ring inspection and maintenance, or browse laser lenses and protective windows. Send a replacement-parts inquiry with the information above.